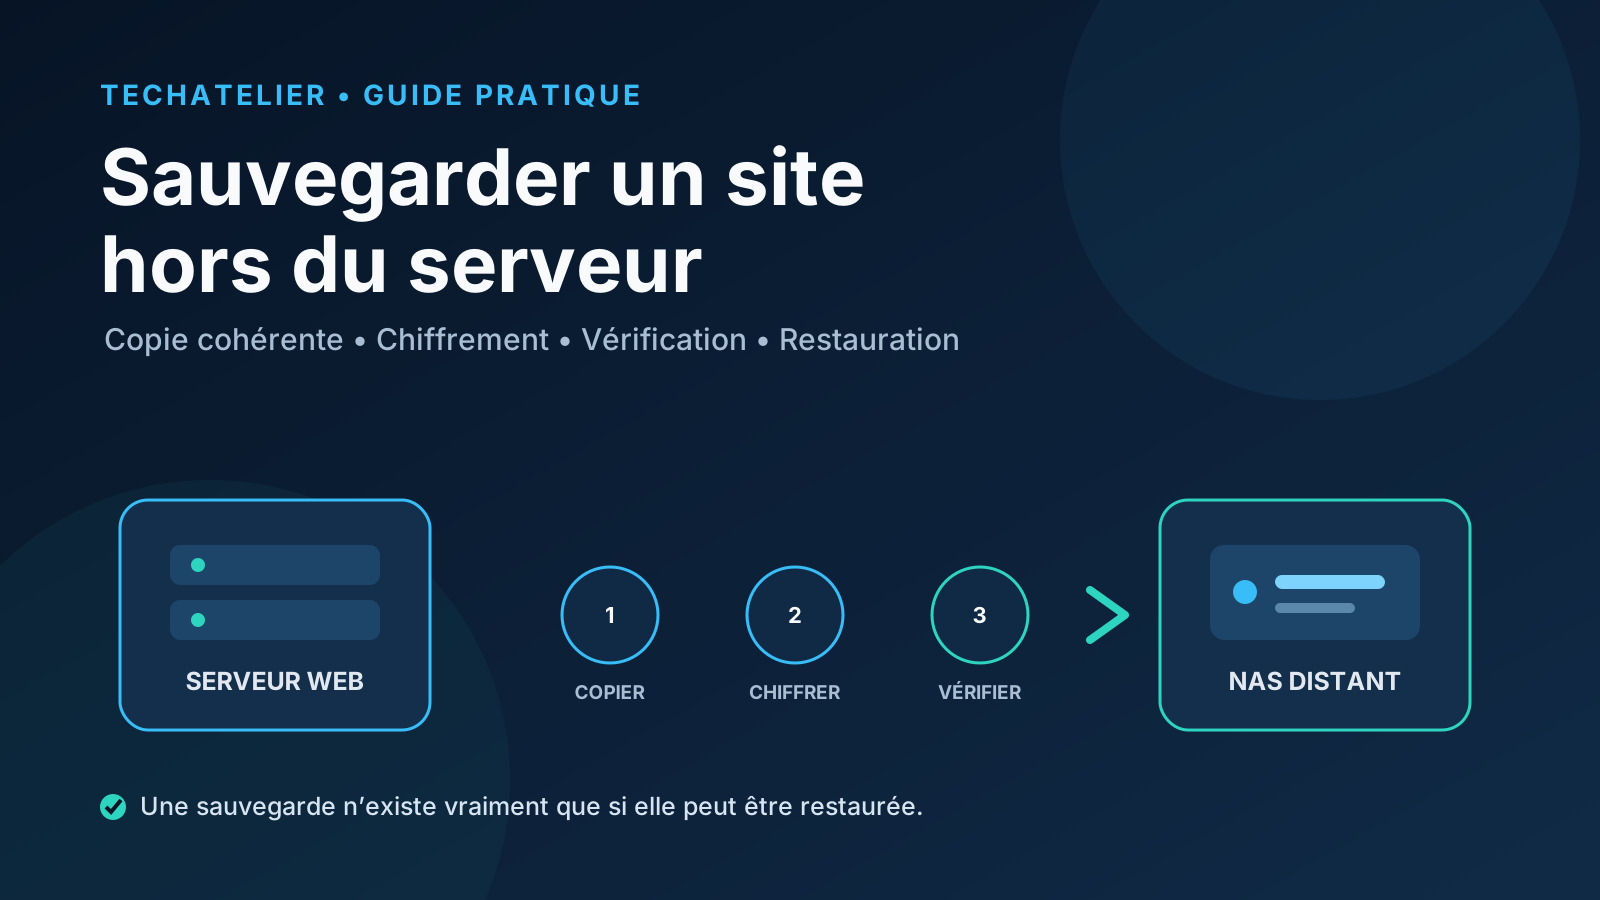
One volume Docker persistent or an archive stored on the same VPS is not enough. A true backup must remain available after the loss of the main server and its restoration must be verified.
The chosen architecture
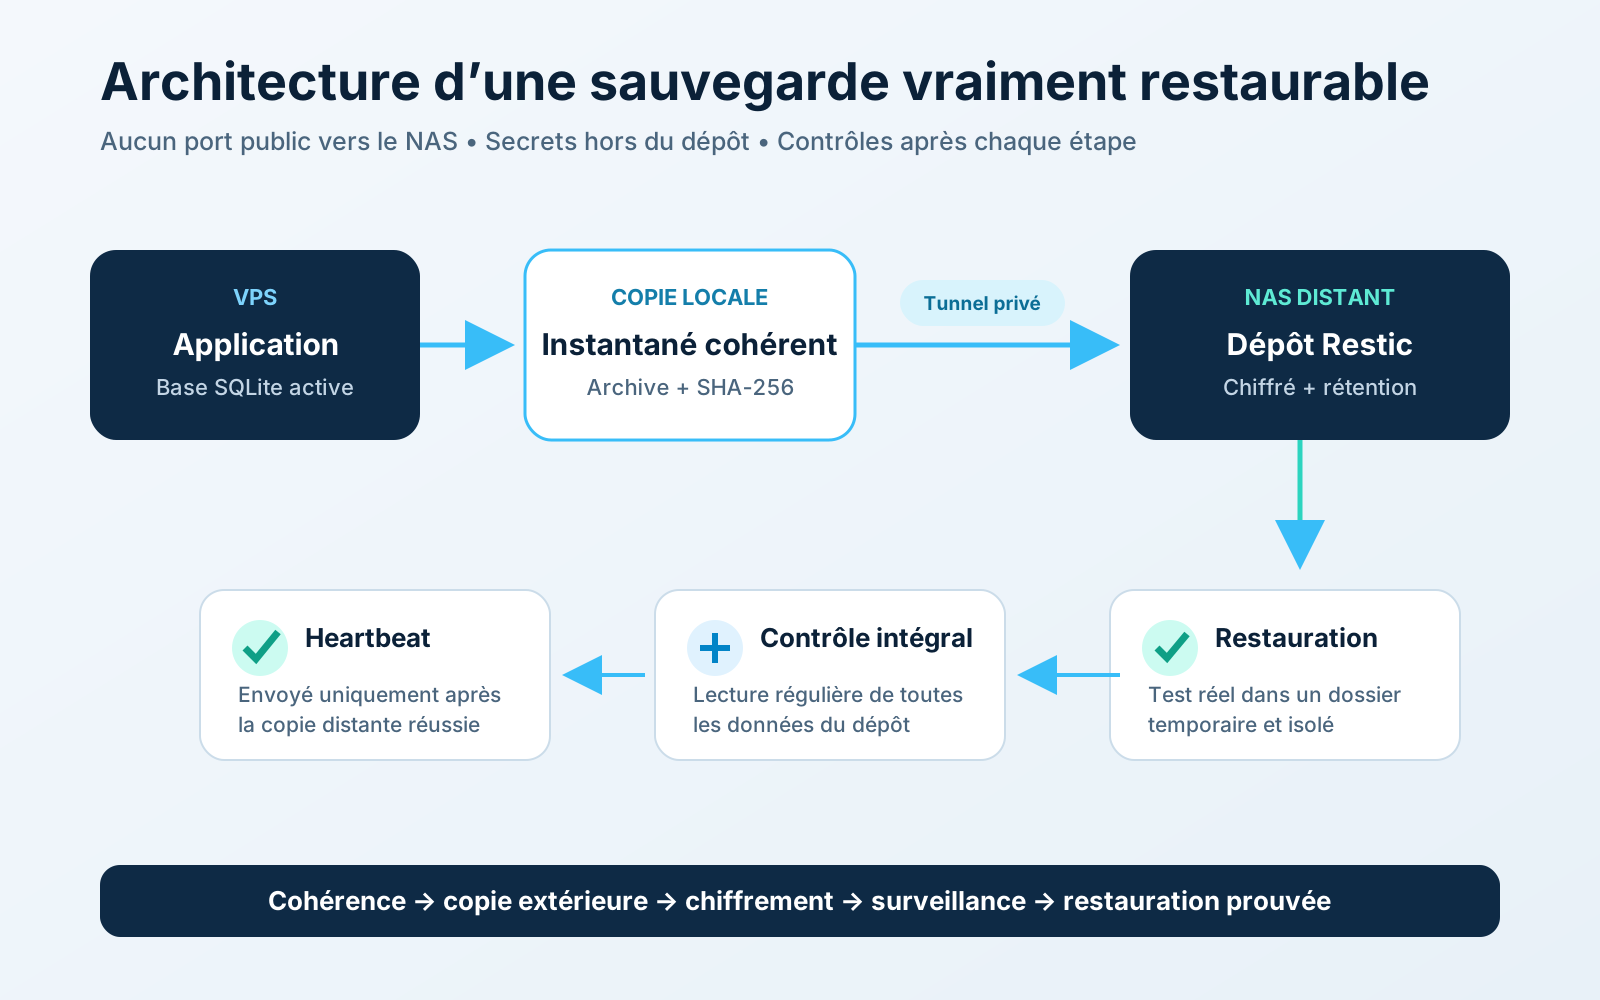
The server first produces a consistent copy of the database, creates an archive controlled by SHA-256, and then sends it to a Restic encrypted repository on a remote NAS. A heartbeat confirms success only after the remote copy.
1. Identify data to be protected
List databases, files sent by users, non-reproducible configurations and secrets kept outside the repository. Container images and Git code are generally reconstructable; the application data are not.

2. Create a consistent SQLite copy
Copying an active SQLite database directly can ignore the entries in the WAL log. Use the SQLite backup API, then check the source and copy.
python3 - <<'PY'
import sqlite3
source = sqlite3.connect("file:/data/database.sqlite?mode=ro", uri=True)
target = sqlite3.connect("/tmp/database.sqlite")
source.backup(target)
assert target.execute("PRAGMA integrity_check").fetchone()[0] == "ok"
target.close()
source.close()
PY
3. Archive and check locally
Create a date archive and its sum SHA-256. This local copy facilitates quick recovery, but it remains insufficient alone.
tar -czf "/var/backups/site/site-$STAMP.tgz" -C /tmp database.sqlite
cd /var/backups/site
sha256sum "site-$STAMP.tgz" > "site-$STAMP.tgz.sha256"
sha256sum -c "site-$STAMP.tgz.sha256"
4. Connect the server to the NAS without exposing SSH
A private network mesh like Tailscale allows the VPS to join the NAS without public redirection of port 22. Create a dedicated SFTP account on the NAS, limited to the backup folder, and use a separate SSH key.
5. Initialize Restic encrypted repository
Keep the Restic password and private key out of the Git repository, in files accessible only to root. Also keep a copy of the password outside the saved server.
restic --repo 'sftp:backup@nas:Backups/site-restic' \
  --password-file /etc/mon-site/restic-password init

restic --repo 'sftp:backup@nas:Backups/site-restic' \
  --password-file /etc/mon-site/restic-password \
  backup /var/backups/site --tag site-web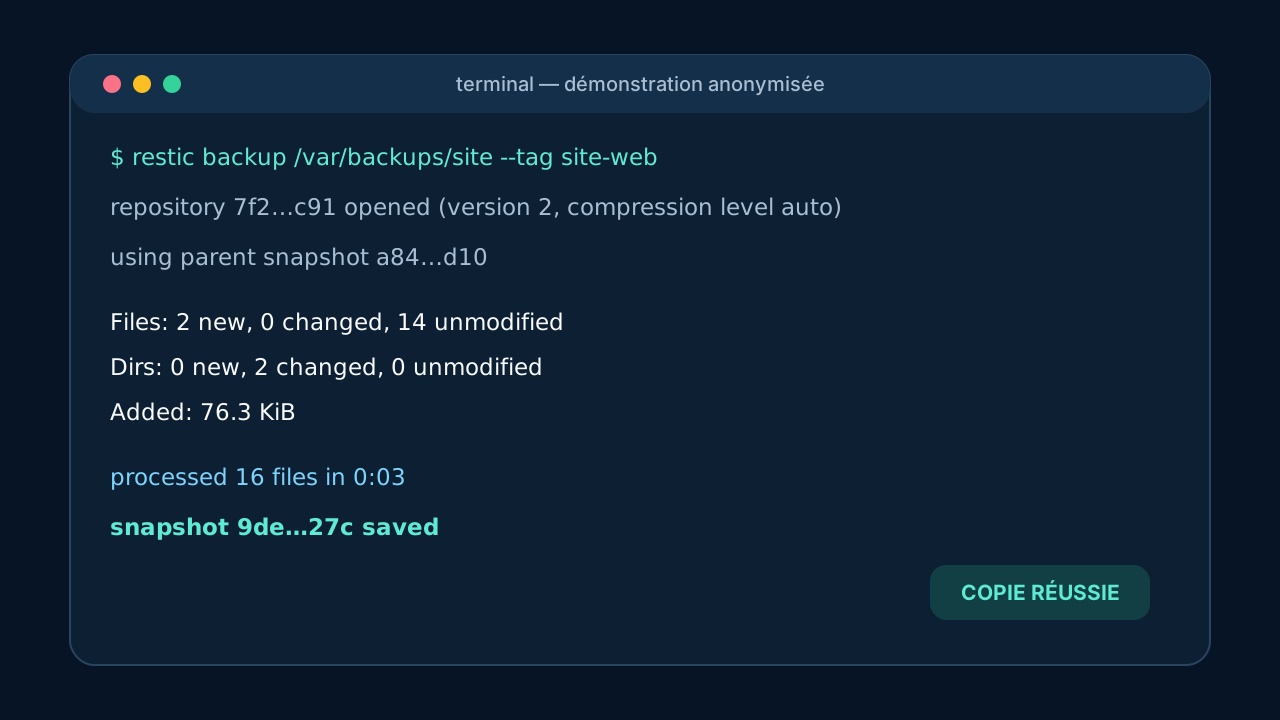
6. Apply retention
Daily retention limits the space used while maintaining a useful history. Adapt it to your business and obligations.
restic forget --tag site-web --keep-daily 30 --prune7. Send the heartbeat after success
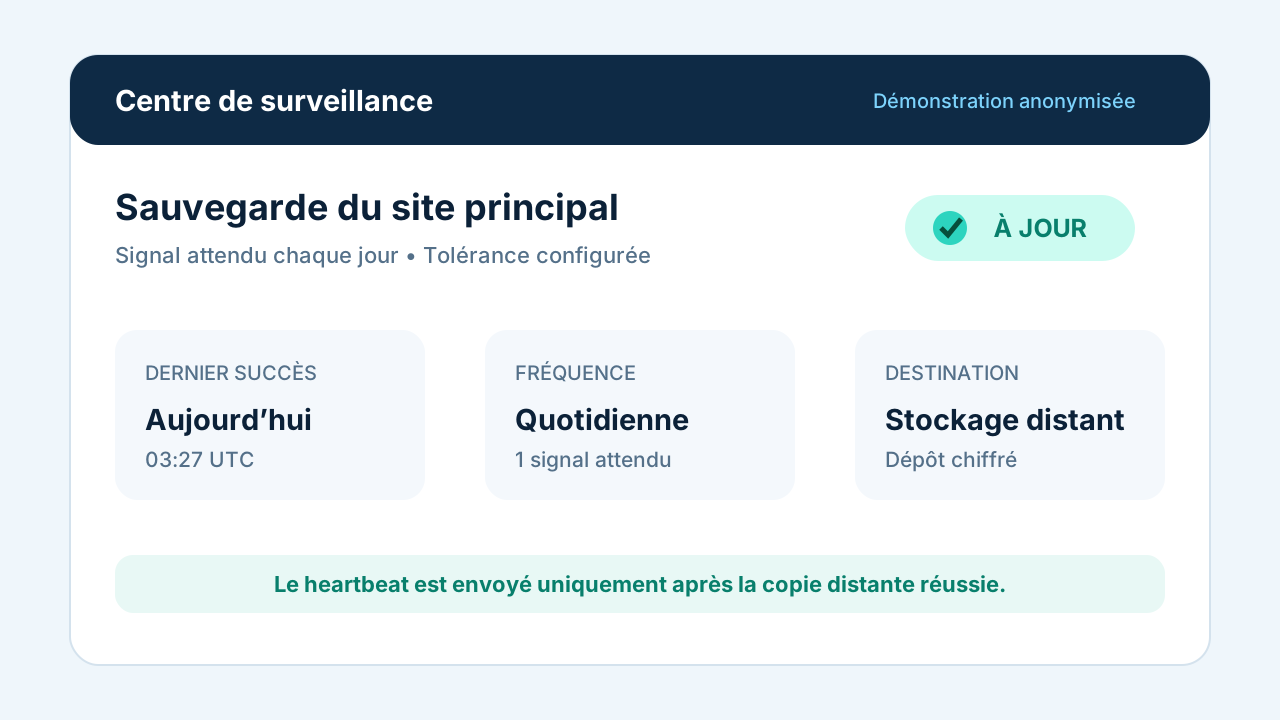
Place the monitoring call at the end of the script. If the creation of the archive, the Restic copy or retention fails, no signal should be sent.
8. Read all data regularly
Plan a full weekly check. It checks the indexes, snapshots and contents of the packs, not just their presence.
restic check --read-data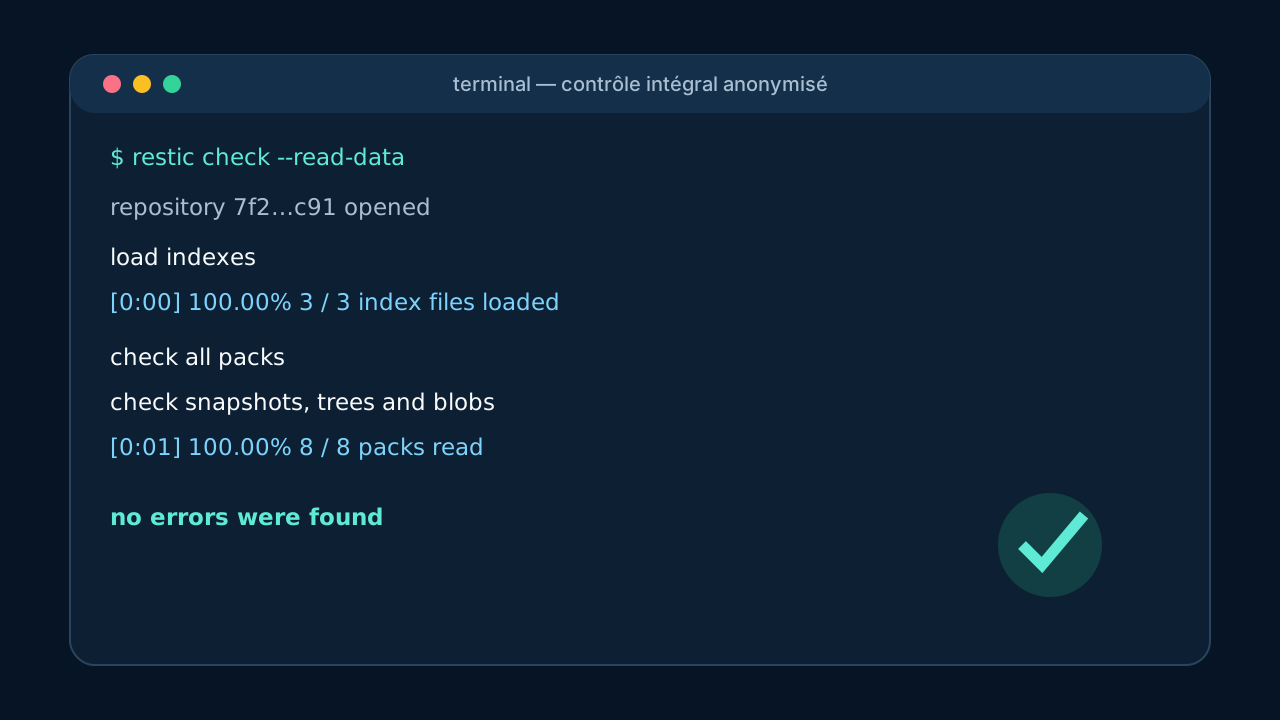
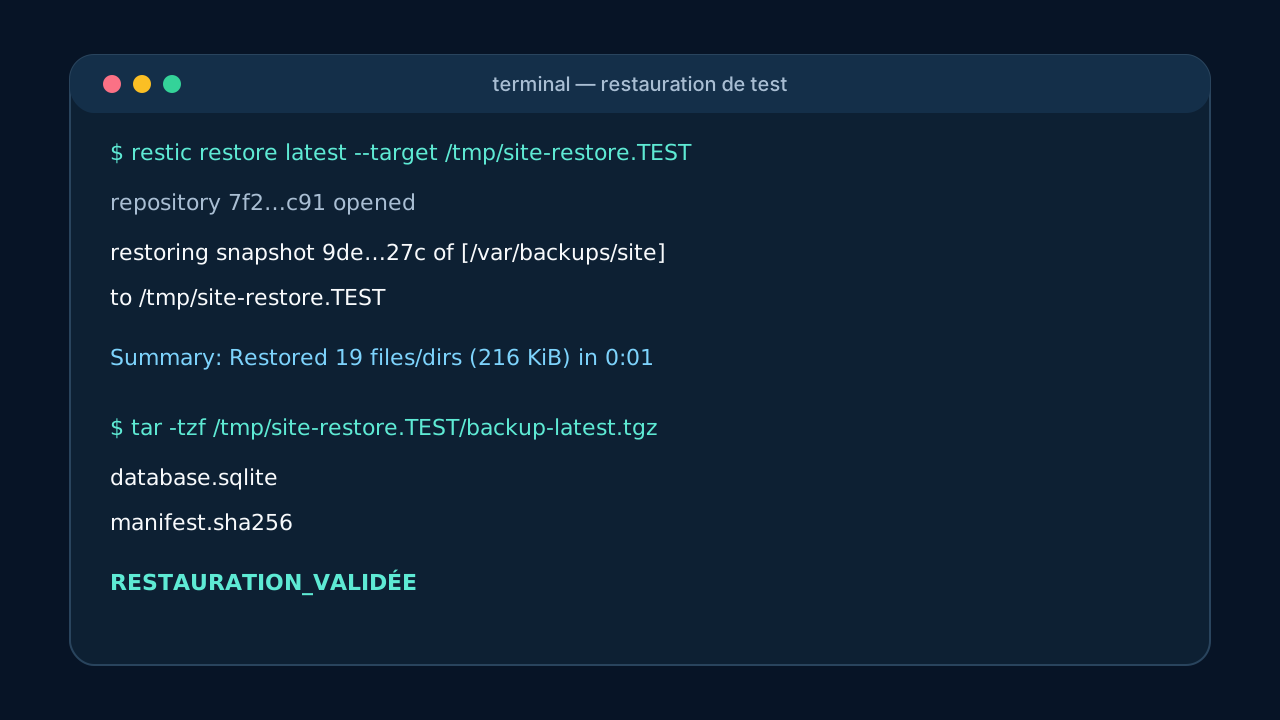
9. Test an actual restore
A visible snapshot proves that Restic recorded data. It does not yet prove that the application archive opens or that its database is consistent. A useful test restores the latest snapshot into an isolated directory, checks every archive and validates every extracted SQLite database.
First load your Restic repository variables in a Bash terminal without displaying the password. The following block never touches live data and automatically removes its temporary copy:
#!/usr/bin/env bash
set -eu
: "${RESTIC_REPOSITORY:?Missing variable}"
: "${RESTIC_PASSWORD_FILE:?Missing variable}"

RESTORE_DIR=$(mktemp -d /tmp/restic-restore-test.XXXXXX)
trap 'rm -rf -- "$RESTORE_DIR"' EXIT

restic \
  --repo "$RESTIC_REPOSITORY" \
  --password-file "$RESTIC_PASSWORD_FILE" \
  restore latest \
  --target "$RESTORE_DIR"

find "$RESTORE_DIR" -type f -name '*.tgz' -print -quit | grep -q . || {
  echo 'No restored .tgz archive found' >&2
  exit 1
}

while IFS= read -r -d '' archive
do
  tar -tzf "$archive" >/dev/null
  extract=$(mktemp -d "$RESTORE_DIR/extracted.XXXXXX")
  tar -xzf "$archive" -C "$extract"

  python3 - "$extract" <<'PY'
import sqlite3
import sys
from pathlib import Path

databases = [
    path for path in Path(sys.argv[1]).rglob("*")
    if path.is_file() and path.suffix in {".db", ".sqlite", ".sqlite3"}
]
if not databases:
    raise SystemExit("No restored SQLite database found")

for path in databases:
    connection = sqlite3.connect(f"file:{path}?mode=ro", uri=True)
    try:
        result = connection.execute("PRAGMA integrity_check").fetchone()[0]
    finally:
        connection.close()
    print(f"{path.name}: {result}")
    if result != "ok":
        raise SystemExit(1)
PY
done < <(find "$RESTORE_DIR" -type f -name '*.tgz' -print0)

echo 'Restic restore and SQLite integrity: OK'
Adjust the archive filter if your backup does not use .tgz. Never restore directly over the production database for this check.

Frequent errors
- consider a volume Docker as a backup;
- archive an active SQLite database without taking WAL into account;
- keep all copies on the same VPS;
- use the NAS administrator account;
- send the heartbeat before the remote copy;
- never test a restore.
Watch your backups
A heartbeat detects the absence of the expected signal after a planned backup. It completes the copy and restore tests; it does not replace them.
Create backup controlA simple strategy can already be solid: a consistent copy, a local archive, an encrypted repository on another machine, monitoring and a restoration test. The expected result is not a created file, but a proven recovery.
Published on 5 August 2026 · updated on 23 August 2026.